其实 clean-webpack-plugin 很容易知道它的作用,就是来清除文件的。
一般这个插件是配合 webpack -p 这条命令来使用,就是说在为生产环境编译文件的时候,先把 build或dist (就是放生产环境用的文件) 目录里的文件先清除干净,再生成新的。
1. 为什么要用 clean-webpack-plugin
如果还不理解为什么要用它,就看看下面的例子就可以知道的。
webpack.config.js
const path = require('path')
...

module.exports = {
  entry: {
    "app.bundle": './src/app.js'
  },
  output: {
    path: path.resolve(__dirname, 'dist'),
    filename: '[name].[chunkhash].js'
  },
  ...

};
在终端上运行:
$ npm run prod
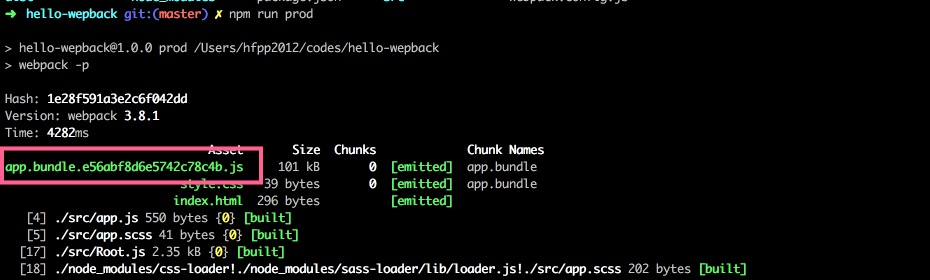
看看 dist 目录:
dist
├── app.bundle.e56abf8d6e5742c78c4b.js
├── index.html
└── style.css
你再把 src/app.js 改改内容,然后再执行 npm run prod。

再多运行几次,生成的带 hash 的 app.bundle.js 文件就会很多。
dist
├── app.bundle.0e380cea371d050137cd.js
├── app.bundle.259c34c1603489ef3572.js
├── app.bundle.e56abf8d6e5742c78c4b.js
├── index.html
└── style.css
这些带 hash 的 app.bundle.js 只有最新的才有用,其他的都没用,我们要在 build 之前把它们全清空,这真是 clean-webpack-plugin 发挥的作用。
2. 使用 clean-webpack-plugin
首先来安装。
$ npm i clean-webpack-plugin --save-dev
webpack.config.js
const path = require('path')
...
const CleanWebpackPlugin = require('clean-webpack-plugin');

let pathsToClean = [
  'dist',
]

module.exports = {
  entry: {
    "app.bundle": './src/app.js'
  },
  output: {
    path: path.resolve(__dirname, 'dist'),
    filename: '[name].[chunkhash].js'
  },
  ...
  plugins: [
    new CleanWebpackPlugin(pathsToClean),
    ...
    new ExtractTextPlugin('style.css')
  ],
  ...
};
现在运行 npm run prod 试试,只有下面的文件:
dist
├── app.bundle.0e380cea371d050137cd.js
├── index.html
└── style.css
先到这里。